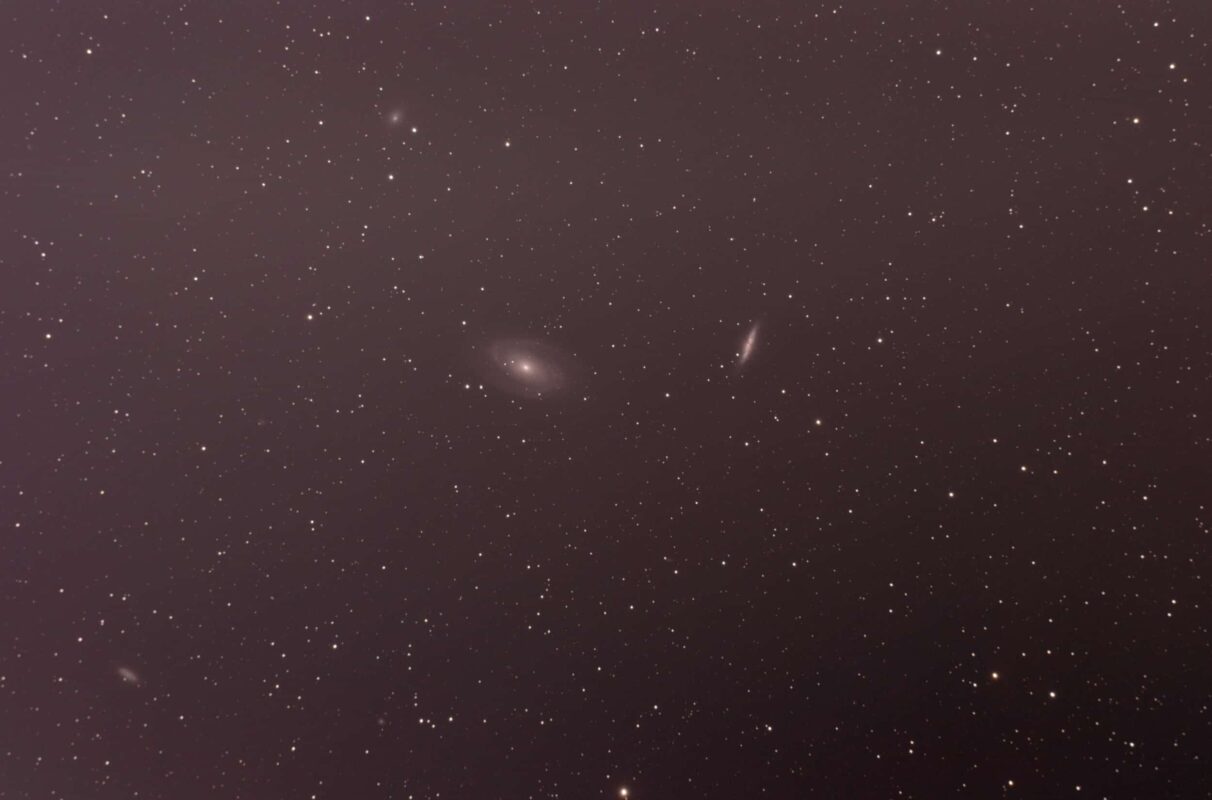
Do your astro photos suffer from gradient, even after applying Flats? Mine do. In my case, the main reason this is happening is because of light pollution. Using a DSLR with no light pollution filter means that the light across my images tends to be quite uneven.
Applying Flats removes this problem by creating a nice smooth field of view. However, when it comes to stretching that data in Photoshop, the gradient creeps back in. In this post, I will show you how to remove gradient, so that your images will never be washed out again! Follow along with my YouTube video, or read the process below.
There are two ways in which this can be achieved. There is a paid plugin called Gradient XTerminator by RC Astro, but there is a way you can do this for free. I like to sort out my gradient issues after applying my curve stretches, this means I can then carry on with the rest of my image processing workflow with just the data I want.
These processes will assume you have applied curve stretches to your image and adjusted the levels already. I also can’t stress enough the importance of using Flats for your astrophotography. I have a guide showing how to create them here.
Gradient XTerminator
Gradient XTerminator is a paid plugin, which can be downloaded here. You can have a free 30 day trial to test it out on your images before committing to the $50 purchase price. I was so impressed that I purchased it before my trial expired. It’s a one off purchase so you don’t have to worry about annual license costs.
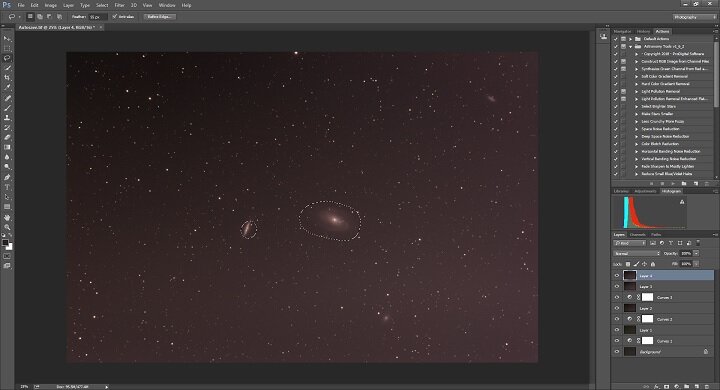
Step 1 – Start by creating a new layer in Photoshop, that way we can delete the layer or undo if we need to go back and change the settings in Gradient XTerminator.
Step 2 – Now, using the lasso tool, circle round your DSO to isolate it from the rest of the image (see below). To select multiple DSOs hold down the Alt key while circling round your object.
Step 3 – From here we’re going to select the inverse so that we’re working with the rest of the image and leaving the DSO alone. To do that you go to Select -> Inverse.
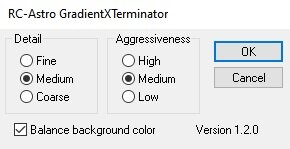
Step 4 – Once selected, you can now go to Filter -> RC-Astro -> Gradient XTerminator. This will bring up a dialogue box where we can select our settings for how we want this to run. I have found that Medium Detail and Medium Aggressiveness works well in most cases, but you may need to use different settings for your images.
This is why working in layers is so important. If running this hasn’t quite removed the gradient, simply undo the action and try different settings, or remove the layer entirely and try again.
That’s it! Easy, right? I now apply this to every image that I process, which means that I am producing much better quality final images!
The Alternative Method
When your Flats just aren’t quite working for you, why not create your own in Photoshop? That’s essentially what we’re going to do here. We’re going to remove everything in the image apart from the background, and we’ll then subtract that from our original image, which will create a smooth field again.
Step 1 – The first step is to copy and paste our current image into a new file. To do that press Ctrl + A to select all, Ctrl + C to copy. From here you want to go to File -> New and hit Enter. Then paste your image into this file using Ctrl + V.
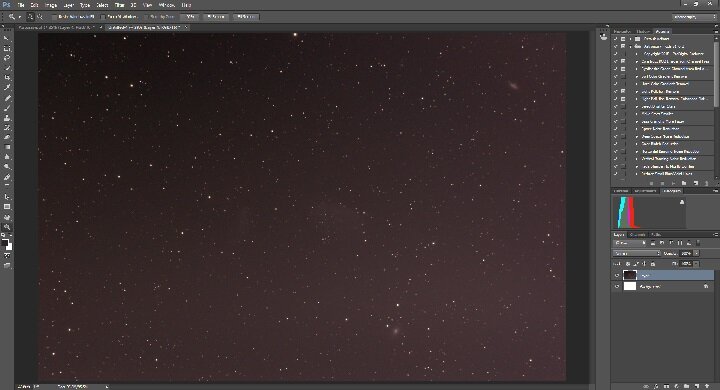
Step 2 – Removing the galaxies. Yes, really! We’re going to use the clone stamp tool to paint over the galaxies. Select the Clone Stamp tool from the toolbar and select a stamp size big enough for your object. In my image I used 100px, with a hardness of 0%.
Now we have our stamp tool, zoom in on your DSO. From here we’re going to choose a patch of sky right next to our DSO and use this colour to paint over it. Hold down the Alt key and select a patch of sky that is clear from stars. This will place that colour on your stamp. Now paint over your DSO until you can no longer see it, it doesn’t need to be a Leonardo Da Vinci effort, fairly rough is fine.
Step 3 – Now we’re going to remove the stars. To do this, go to Select -> Colour range. From the dropdown menu select Highlights. Adjust the range slider until the majority of stars are selected, but before your image starts going white from the bright parts of your sky. See the images below for an example. Now that the stars are selected, we want to do a content-aware fill.
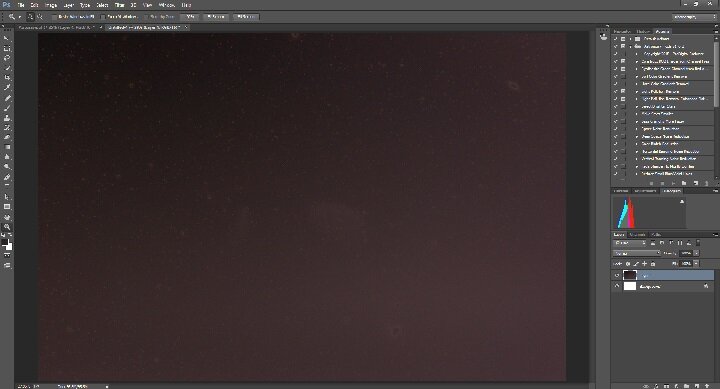
This will fill the sky where the stars were with the background colour instead. Go to Edit -> Fill. Select Content-Aware from the dropdown menu, blending mode can be set to Normal or Darken. Select OK to remove the stars.
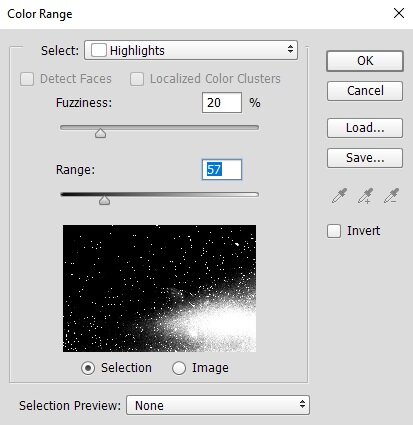
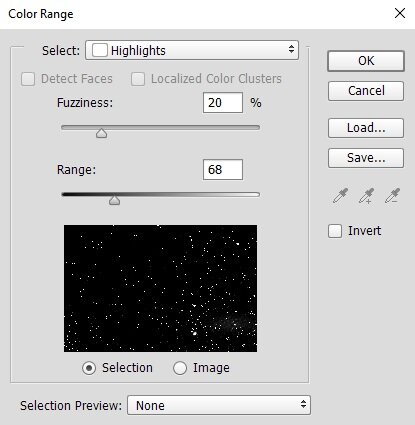
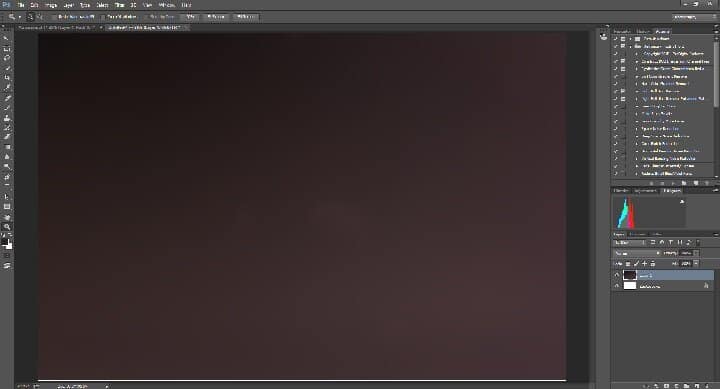
Make sure your Color Range window looks like the image on the right and not the left. Your image should now look like mine below, with a grainy background and all stars removed.
Step 4 – Reducing noise. Our previous steps have left us with a noisy, grainy image that needs smoothing and flattening. To do this, we’re going to reduce the noise to smooth it out. Go to Filter -> Noise -> Dust and Scratches. Leave the threshold level at 0, but adjust the radius until your image looks smooth. In my example I used a Radius of 80 but your image may vary. Toggle the preview button to see the changes to ensure you’re happy before hitting OK to apply the changes.
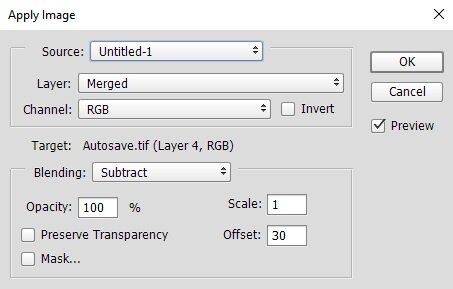
Step 5 – Now we’re going to apply this image to our original image. Go back to the original image and select Image -> Apply Image. Select the source, in this case Untitled 1 as I didn’t change the name, to select your flat file. Set the Layer to Background, Channel to RGB. Now the important part. Change the Blending Mode to Subtract. You may need to change the Offset setting. I have used an Offset of 30, your image may vary. Remember to toggle the preview button to see the changes being made before hitting OK.
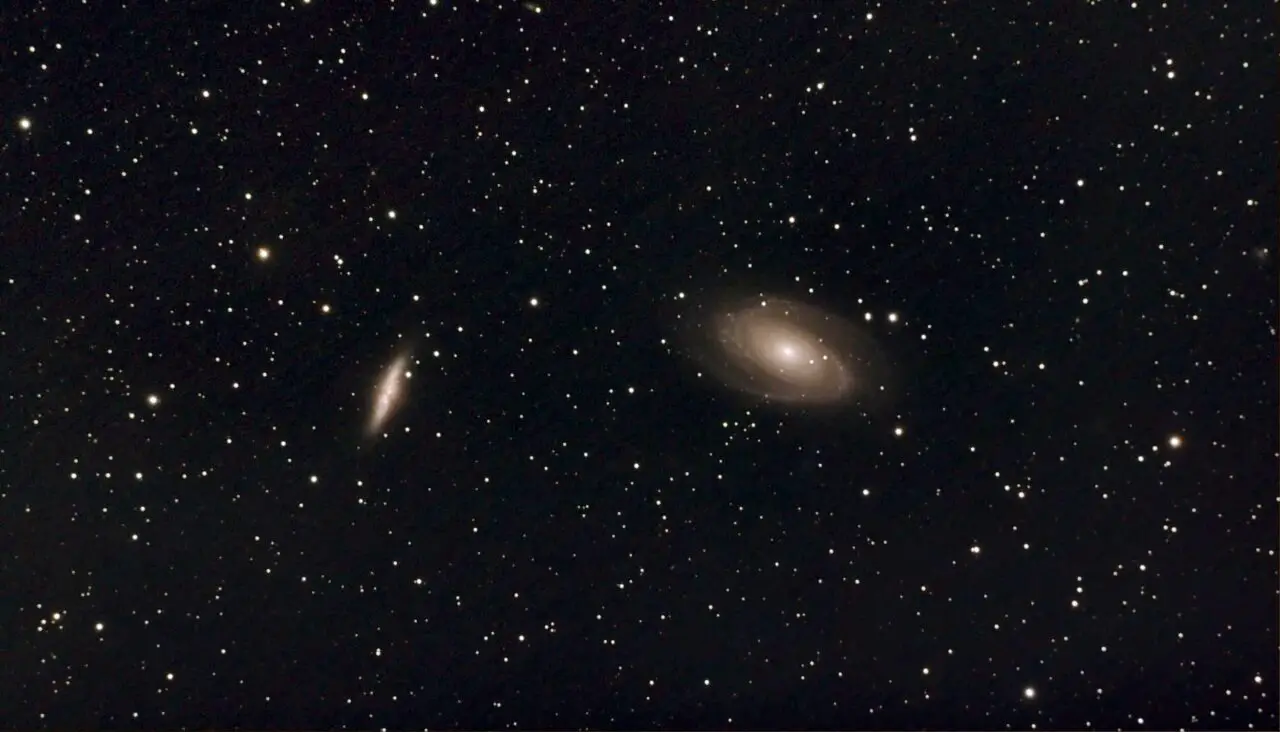
Your changes have now been applied and you should have an image that’s comparable to the Gradient XTerminator plugin. I find this method can be a bit more noisy, and obviously more time consuming, but it can be very effective and saves you some money!
Be sure to subscribe to my YouTube channel and please do get in touch with any further questions via my contact form.
